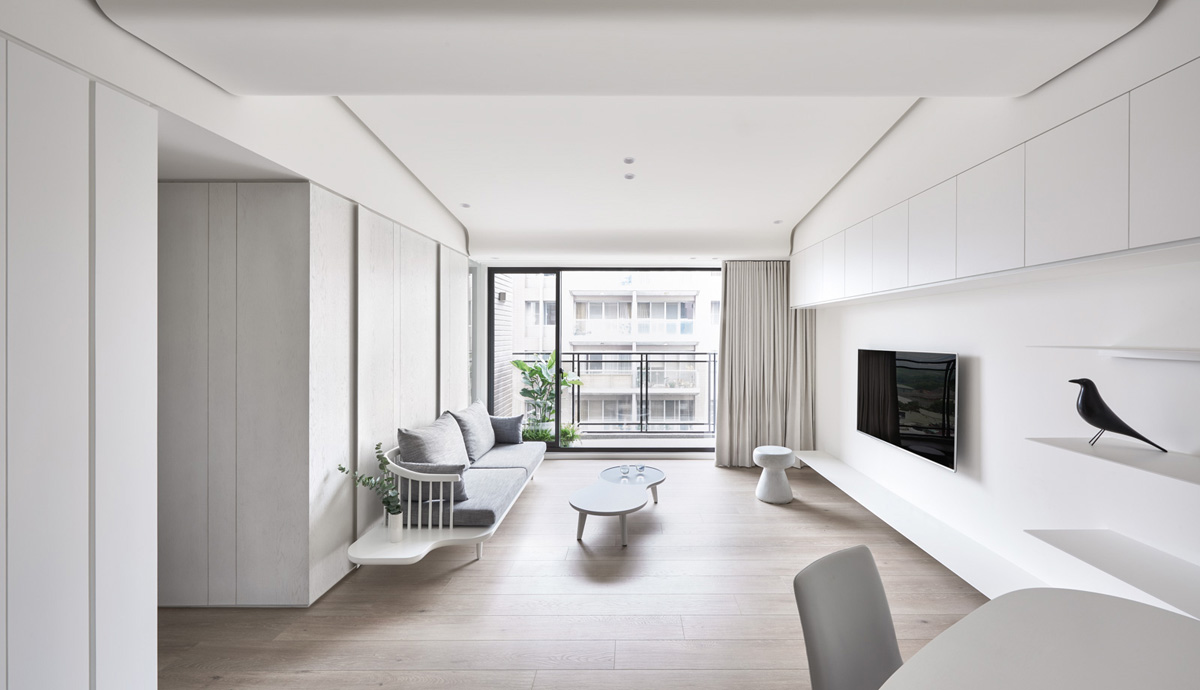
Turning your plain wooden floor into a stunning work of art is easier than you might think. Whether you’re looking to add a pop of color or a touch of elegance, painting your wood flooring can completely transform the look and feel of your space. In this article, we’ll explore the best way to paint wood flooring, step by step, so you can achieve outstanding results that will leave everyone in awe. Get ready to unleash your creativity and give your floors a fresh new look!

Gather Your Materials
Before diving into the painting process, it’s essential to gather all the necessary materials. Here’s what you’ll need:
- Painter’s tape: This will help you create crisp, clean lines and protect areas you don’t want to paint.
- Sandpaper: Choose a medium-grit sandpaper to prepare the wood surface for painting.
- Tack cloth: Use a tack cloth to remove any dust or debris after sanding.
- Primer: A high-quality primer will provide a smooth base for the paint to adhere to.
- Paint: Opt for a floor paint specifically designed for wood surfaces. Choose a color that complements your space and style.
- Paint roller and tray: A roller will make the painting process quick and efficient.
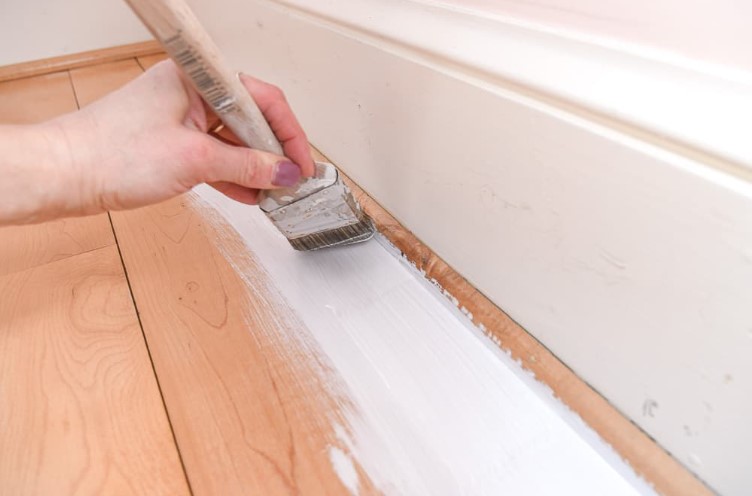
- Paintbrush: Use a brush for corners, edges, and detailed areas.
- Polyurethane sealant (optional): Applying a sealant will protect your painted floor and enhance its durability.
Prepare the Wood Surface
- Clear the area: Remove all furniture, rugs, and obstacles from the room. You want a clean and open space to work with.
- Clean the floor: Start by sweeping or vacuuming the floor to remove loose dirt and debris. Follow up with a mild cleaner to remove any grime or grease. Allow the floor to dry completely before proceeding.
- Sand the surface: Using medium-grit sandpaper, sand the entire floor in the direction of the wood grain. This will create a rough surface for the primer and paint to adhere to. Be thorough but gentle to avoid damaging the wood.
- Remove dust: After sanding, wipe down the floor with a tack cloth to remove any sanding dust. Make sure to reach all corners and edges for a clean surface.
Apply the Primer
- Protect the edges: Use painter’s tape to protect the baseboards, walls, and any other areas you don’t want to paint. Apply the tape carefully, ensuring it adheres well.
- Stir the primer: Open the can of primer and stir it thoroughly to achieve a consistent texture. Follow the manufacturer’s instructions for proper mixing.
- Apply the primer: Start in one corner of the room and work your way towards the exit. Use a paint roller or brush to apply an even coat of primer, following the wood grain. Take care not to apply the primer too thickly to avoid drips or uneven drying.
- Let it dry: Allow the primer to dry completely according to the manufacturer’s instructions. This usually takes a few hours but may vary depending on the product and environmental conditions. Ensure proper ventilation during the drying process.
Paint the Wood Flooring
Prepare the paint: Just like with the primer, give the paint can a good stir to achieve a uniform consistency. If needed, pour the paint into a paint tray for easy access.
Start painting: Begin at the farthest corner of the room and work your way towards the exit. Use a roller for larger areas and a brush for corners and edges. Apply the paint evenly, following the wood grain.
Applying Multiple Coats
After the first coat of paint has dried, evaluate the coverage. If the color appears uneven or translucent, you’ll likely need to apply additional coats for a more vibrant and consistent finish.
Before applying the next coat, lightly sand the painted surface using fine-grit sandpaper. This will help create a smoother finish and improve paint adhesion. Remember to remove any sanding dust with a tack cloth.
Repeat the process of applying paint, allowing each coat to dry thoroughly before proceeding to the next. Follow the manufacturer’s recommendations for drying times between coats. Typically, two to three coats are sufficient, but you may need more depending on your desired intensity of color.
Finishing Touches and Maintenance
Remove painter’s tape: Once the paint and sealant have dried, carefully remove the painter’s tape from the edges. Slowly peel it back at a 45-degree angle to ensure clean lines.
Give it time to cure: While the paint and sealant may feel dry to the touch, it’s essential to give them time to cure fully. Avoid placing furniture or heavy objects on the floor for at least a few days to prevent any damage.
Regular cleaning and maintenance: To maintain the beauty of your painted wood flooring, clean it regularly with a gentle cleaner suitable for painted surfaces. Avoid using abrasive materials or harsh chemicals that could damage the paint. Additionally, consider using floor protectors on furniture legs to prevent scratches.
Touch up as needed: Over time, your painted wood flooring may experience wear or minor damage. Keep some extra paint on hand to touch up any scratches or chips that may occur. Remember to follow the same application process and allow for proper drying between touch-ups.
Summary
Transforming your wood flooring with a fresh coat of paint is an excellent way to add character and style to any room. By following these step-by-step instructions and using the right materials, you can achieve beautiful, long-lasting results. So, unleash your creativity, have fun, and watch as your painted wood flooring becomes a stunning centerpiece in your home. Get ready to walk on a work of art!

